Beginner's Guide to Katahdin
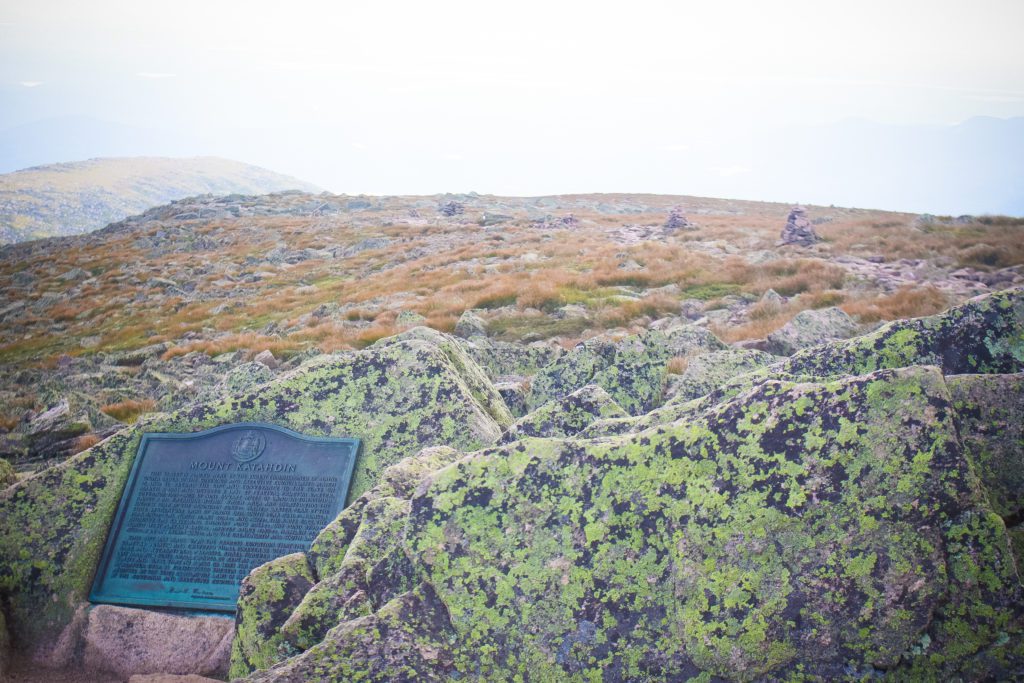
If you live in Maine or New England, summiting Baxter Peak on Katahdin is a must do for your outdoor adventure bucket list. It’s also the end of the Appalachian Trail! We have spent many days and nights in Baxter State Park over the years and we have hiked almost every trail on the mountain. We have compiled some tips for first timers on maximizing your trip to the summit. We hope you enjoy this Beginner’s Guide to Katahdin!
Baxter State Park is a very special, protected place
Baxter State Park (BSP) is highly regulated which some may dislike, but we don’t mind – in fact we appreciate it even more. It makes the park so special. Those regulations are what ensure the park stays forever wild and maintains the beauty that Governor Percival Baxter aimed to protect when he donated the park to the state in 1931. Please note dogs aren’t allowed in the park and there are age limits on small children going above tree line.
Whether you are camping or day hiking, summiting Katahdin involves logistics and planning, not to mention adequate training to make sure you are in good condition for your hike. It’s definitely not your basic day hike, and the rewards are certainly plentiful. You can read about DD’s first summit and get a great feel for the spiritual experience that it is.
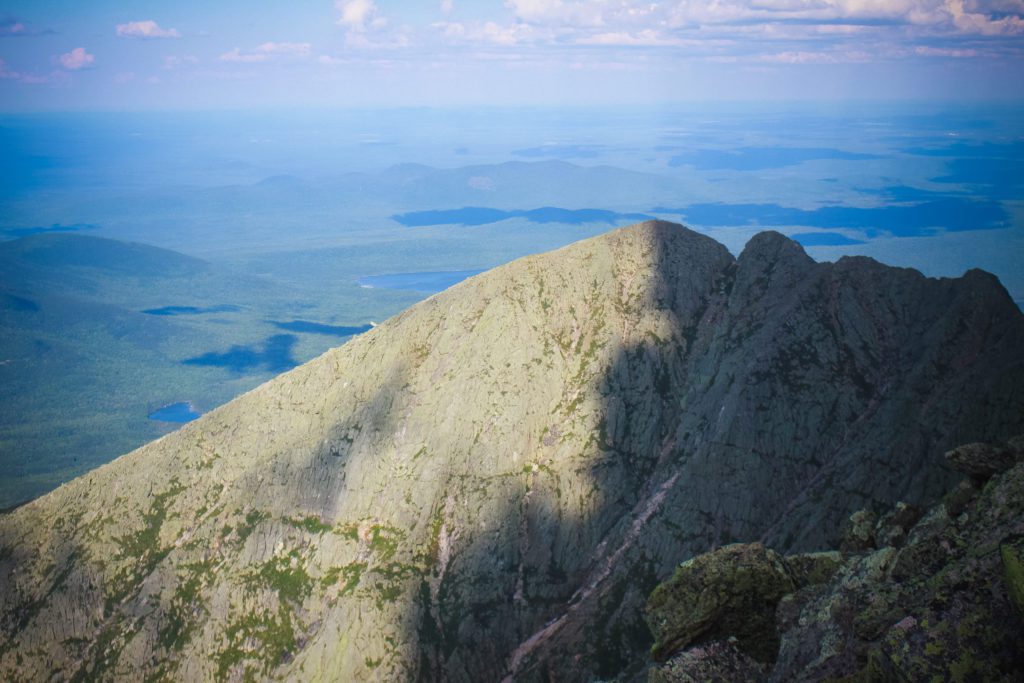
While there are many excellent places to explore in the park, this post focuses on reaching the summit of Katahdin, and also prepares you for crossing the Knife’s Edge. You can learn more about other parts of BSP by clicking on the Search bar and searching for Baxter State Park. disclaimer – please note that we are NOT Maine Guides and we are just sharing our experiences to help others in their quest.
Planning for hiking Katahdin
Want to see the trails immediately? Check out the park’s downloadable map here! (Remember to definitely take a map with you on the mountain!)
Make sure to check the forecast!
Something VERY important to consider when hiking Katahdin is the summit forecast. It might be 70 at the trailhead, but it can be winter conditions up top. Yes, even in June. For example, I was just looking at the forecast for a friend’s Thursday summit, and it’s brutal up top. The summit forecast for her is 30 degrees for the high with 30 MPH winds., even though the forecast at Baxter State Park is a high of 64 degrees with 9 MPH winds. I told her to bring a beanie, gloves, hot hand, and a puffy coat. She’s going to thank me! Want to know where to check the summit forecast? Here’s the link!
Which trails should you hike up Katahdin?
If you are camping you will want to research and pick your trails by January or February, as they go FAST – and the preferred ones go first. If you are planning on day use, you have a little more time for planning, and depending on the size of your group and your schedule, you might have a little more room to be spontaneous, but not much. You’ll want to check out the park’s reservation system to see what’s available before committing to a trail, especially if it’s late in the season. You can do so here. The gates for the park open at 6 am, so you’ll want to be lined up at the gate to enter as soon as possible and remember that there’s a drive time to the trailhead that should be factored in.
In my opinion, Saddle and Abol are the “easiest” trails. Note that none of the trails are beginner trails and I would consider none of these trails to be easy.
Trail Stories and more information
Camping in Baxter State Park
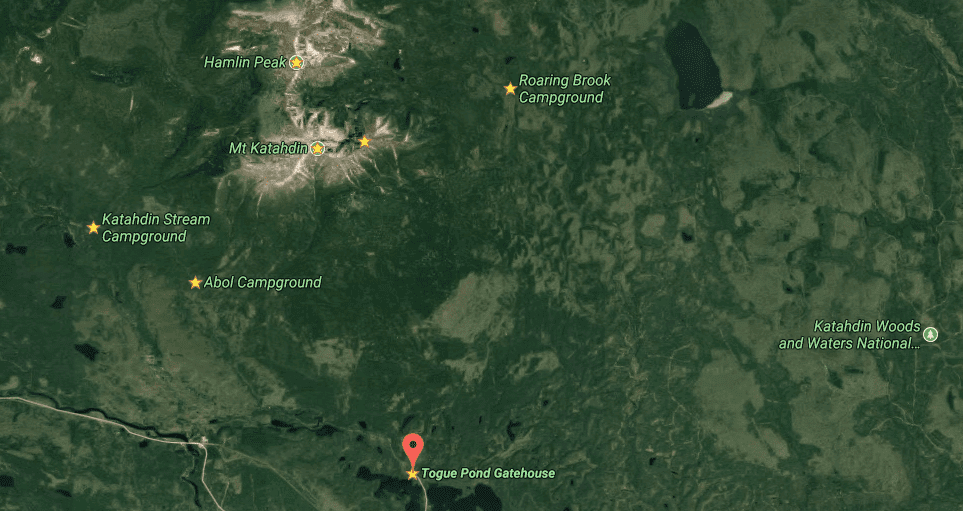
We prefer camping, because it’s a long day and we love to enjoy the park, so that’s what we recommend. The main campsites are Roaring Brook, Katahdin Stream and Abol Campground. You’ll want to pick the site that has the best access to your summit path. You can access more info on the campsites on the BSP site. A brief description/location is below for each site.
Southeast Side
The southeast side of the mountain offers the most trail options from Roaring Brook Campground. From here take the Chimney Pond Trail to access the other trails up the mountain- Helon Taylor, Hamlin Ridge Trail, Saddle Trail, Cathedral Trail and Dudley Trail (Note: Dudley is closed until 2018 due to a rock slide). This side is popular because of the many options and because it allows you to do a loop over the Knife Edge which is a must for anyone isn’t afraid of heights. Camping on this side of the mountain is available at Roaring Brook Campground. Keep in mind there are other campgrounds in the park and outside of the park. If you plan on using a campground outside of the park, you’ll need a Day Use Parking Reservation to park at the lot at Roaring Brook, as space is limited.
Southwest Side
The southwest side of the mountain has two trails, the Hunt Trail and the Abol Tral. The Hunt Trail is part of the Appalachian Trail which adds to the magic- we love being on the AT and chatting with the thru hikers! There is camping on the southwest side at a variety of campgrounds. Keep in mind that if you aren’t staying at Abol Campground or Katahdin Stream Campground, you will need a day use parking reservation to access the parking lots for Hunt and Abol trail access.
Traverse
Alternatively, you can do a traverse of the mountain, if you have the vehicles and the time. You can read about DD’s traverse here for additional tips on that! Side note: This is not for beginners.
Northwest
You can also take the Northwest Basin Trail from Hamlin Peak to Davis and Russell Ponds. We haven’t done this route before, but would love your thoughts on this part of the mountain!
- BSP has a rolling reservation system for camping, so you’ll want to consult this once you decide on your trails and dates. To get your preferred sites, you can make your reservations online or by mail. You can mail in your reservations so that they get there before the others! Insider tip 🙂
- Mark your calendar for the date that you need to call or mail in and get your materials ready. If you’re mailing, you’ll need to mail in your form with a self addressed return envelope, complete with a stamp for your confirmation to return to you.
Here’s a Google Map so you can get an idea of where each campsite is in relation to the mountain.
Any route will average you 10 miles or more depending on the route. We have hiked a lot of peaks in New England and it is our personal opinion that Katahdin is the most rugged of New England’s tallest peaks. You want to make sure you have a few longer hikes under your belt. We recommend starting out as early as possible so you are ready for your trip – as in hit the trail as close to sunrise as possible. This will help you avoid injury and ensure you have fun!
What to do to train for Katahdin
Snowshoe and go for hikes in the winter.
New England’s winters are long, there’s no better way to spend them than outside. We have put together some great advice for winter hiking, which you can check out here!
Run and walk
Indoors or out. Whether you hit the treadmill, stairclimber, streets or local trails, running and walking are great conditioning for your legs and lungs.
Hike, hike, hike!
Use any opportunity to hike. You don’t have to do big hikes to get in training. Some of our favorite hikes are local hills that you can train on after work or quickly on mornings. We also bag other peaks in New England that are moderately easier than Katahdin, but also prepare us for the long mileage of the day. Check out the rest of our blog for ideas!
Resistance training
Resistance training is also great for your preparation. Lift weights, do squats, crunches and lunges and get your arms in shape. Willow prefers to do her training outside and can be found walking in the morning with a full backpacking pack for a little outdoor resistance training. DD loves to weightlift and do Crossfit, which helps her scramble on the big boulders. REI offers some tips on some helpful exercises here.
Stretch
Don’t forget to stretch! This is the most important part of your training. Not only will it keep you limber, but it’s good for your mind and soul to help you unwind. Yoga is another great way to keep your hips, legs and arms loose. We couldn’t live without our foam rollers.We recommend a high density version – like the ones you see at the gym! They are so affordable and life saving
Gear you need for hiking Katahdin
You’ve probably heard the Mark Twain quote “If you don’t like the weather in New England now, just wait a few minutes.” Nothing could be more true for Katahdin. The weather can change quickly and a warm summer day can quickly turn to winter-like conditions and then back again. A healthy respect for this mountain is essential to ensuring you have a great time and are prepared for whatever the Greatest Mountain brings.
What you wear on your hike and pack is just as important as the planning you put into your trip. Be sure to wear your gear on all of those local hikes before hitting the trail and remember, cotton kills.
Footwear
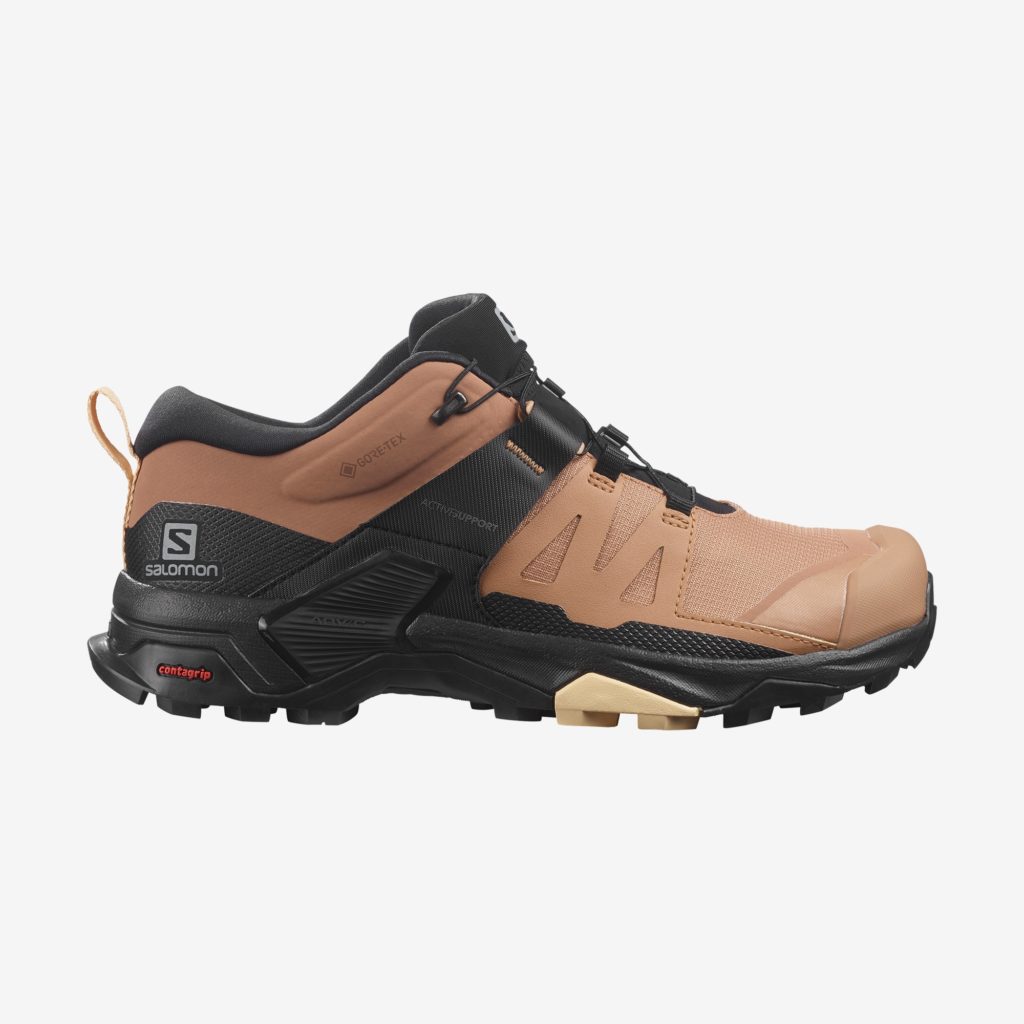
You’ll want trail runners with good tread or hiking boots to manage wet rocks and roots and your steep ascent. Waterproof is a plus, as well as a lightweight shoe. Merrels, New Balance, Asolos, Keen, Solomon, Columbia – these are all brands we have used. Don’t be afraid to spend a little on the shoes – and definitely break them in before your first big hike! Salomon is my preferred brand. I’m currently hiking in the X Ultras.
Socks
Wool or synthetic. We always pack an extra pair of socks just in case. It feels so good to change socks at the top! Check out this Smartwool sock – Smartwool Women’s Light Elite Micro Socks. Side note – clip your toenails before your hike. It’s a well known fact that no one talks about, that long toenails are SUPER painful heading up or down a mountain.
Bugs
Bugs can be a real pest, but only in the early season, namely June. If you find yourself camping early, bring a large lean to bug net, bug head net and a Thermacell Radius or a Thermacell Backpacker plus fuel. You won’t regret bringing the Thermacells at any point during the year.
Pants
Synthetic or wool. DD usually wears capris to butt slide and Willow wears convertible hiking pants. With all of the scrambling that you need to do, having some protection for your legs is a good idea. It also helps you stay warm if the weather turns. We had one hike where low clouds turned to sleet on our descent, in August.
Shirt
You’ll want a synthetic baselayer and warmer layer for the peak. Willow loves her Smartwool layers to keep warm above treeline.
Outer weatherproof layer
A wind and rain shell is a must. depending on the weather and season, more might be needed.
Backpack
Depending on how much you like to pack, we recommend a pack of at least 30 liters. This allows you to pack everything you need for a well-prepared day. I only use Osprey. They have a lifetime warranty!
What's in Your Pack?
Water
You’ll want AT MINIMUM – 3 liters of water or more for your hike, plus a water filtration system for emergencies. The amount of water you carry all depends on the weather and your knowledge of your hydration needs. In case of an emergency, there are spots to filter water on the trail but not many once you are above treeline (which will probably be the majority of your hike). We also recommend Gatorade, Iced Tea, or some other sports beverage or powder – it will taste delightful on the summit! Your best bet is a hydration system you can insert into your backpack. A Camelbak is pretty standard + affordable.
Food
This is quite possibly our favorite part of packing. Determining what you want to eat on the trail is a precise science that must be perfected after many days on the trail. You’ll want foods that are high in protein and fat and help you replenish your electrolytes. We do have a guilty pleasure list – Cheeze-Its, Pringles, and Chocolate. Bumble Bee Tuna Salad Snack Packs are a great thing for the summit – but we’ve seen people have a complete Jet-Boil meal on the top. So – pack a lot of snacks – fruit, beef jerky and GORP are necessities. We love out Cairn package for monthly deliveries and have found many favorite trail snacks in this package. Use this link to sign up, and use the code g8r9wx and you’ll earn $10! Best money you’ll spend all month. We promise.
Poles
Not everyone likes hiking with poles, but they are definitely a good tool for anyone who has knee problems or other injuries that have the potential to flare-up on the trail. Strap them to your pack when not in use or have them to loan to a hiking companion if the need arises. We like the LEKIs or the REI Carbon poles. Easy to transport and light to carry! Here’s a photo of the Leki’s – it’s an Amazon link. If you use it to buy them, we’ll get a kickback!
OTHER ESSENTIALS
Here are the 10 essentials plus we recommend as part of our Beginner’s Guide to Katahdin! These are the standards we keep in our pack and more. More to come on this in a later post.
- First Aid Kit
- Headlamp
- Compass or GPS
- Map
- Extra clothing- hat, gloves, neck warmer, raincoat
- Sunscreen, chapstick & sunglasses
- Duct tape- You never know when you need to repair something on the trail
- Knife or razor blade
- Matches, lighter and firestarter
- Bandanna or sweat towel
- Camera – phone w/ extra batteries or go pro
- Zip ties
- Tissues and toilet paper
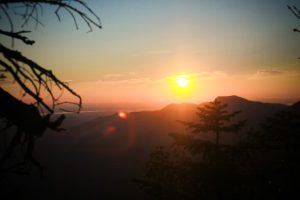
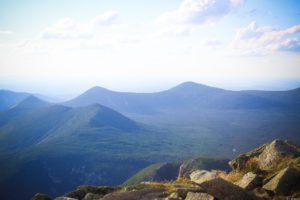
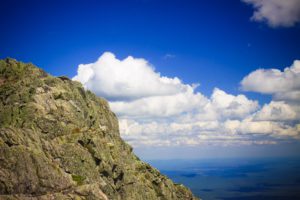
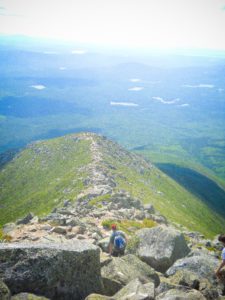
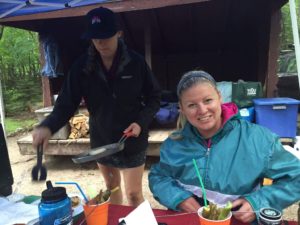
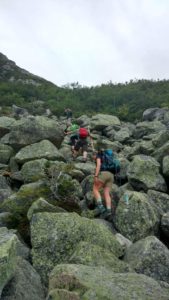
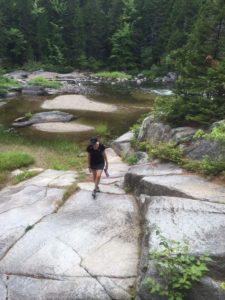
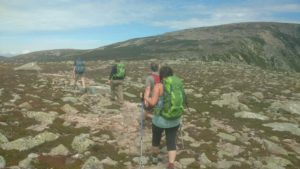
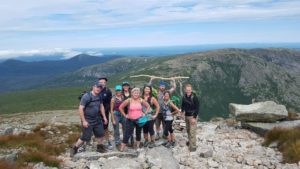
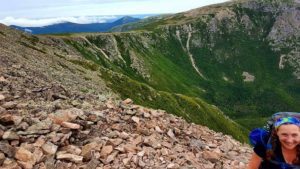
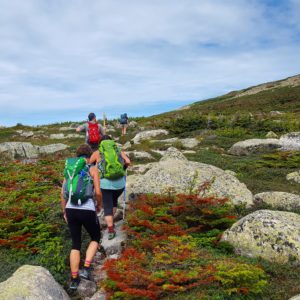
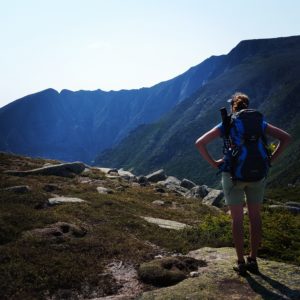
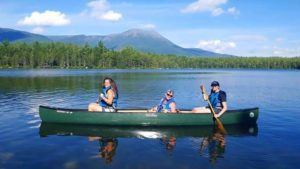
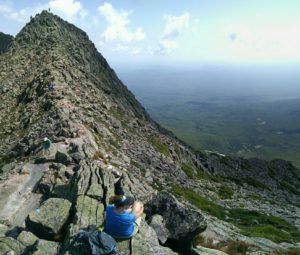
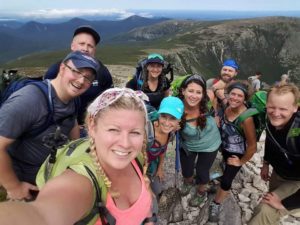
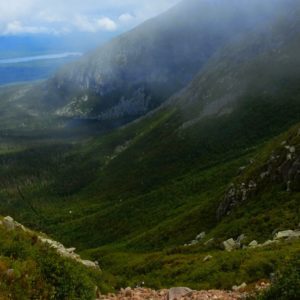
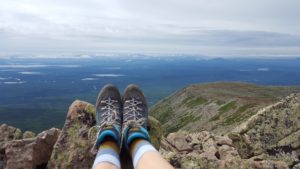
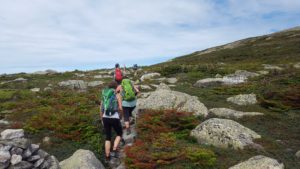
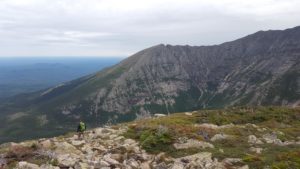
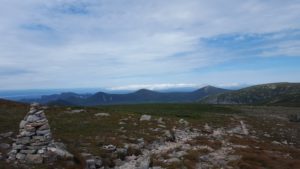
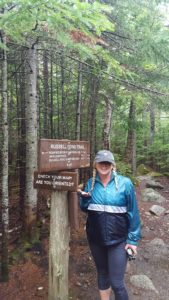
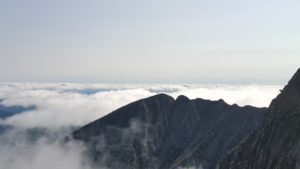
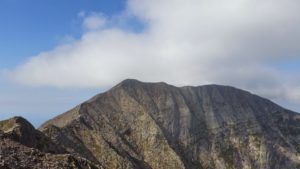
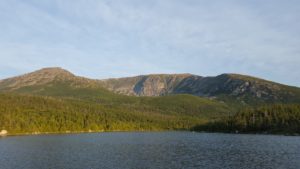
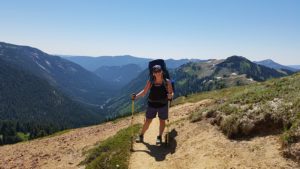
Here are some of our favorite moments on Katahdin – it’s an annual adventure to recenter and remind ourselves of the importance of the connection to nature and ourselves.
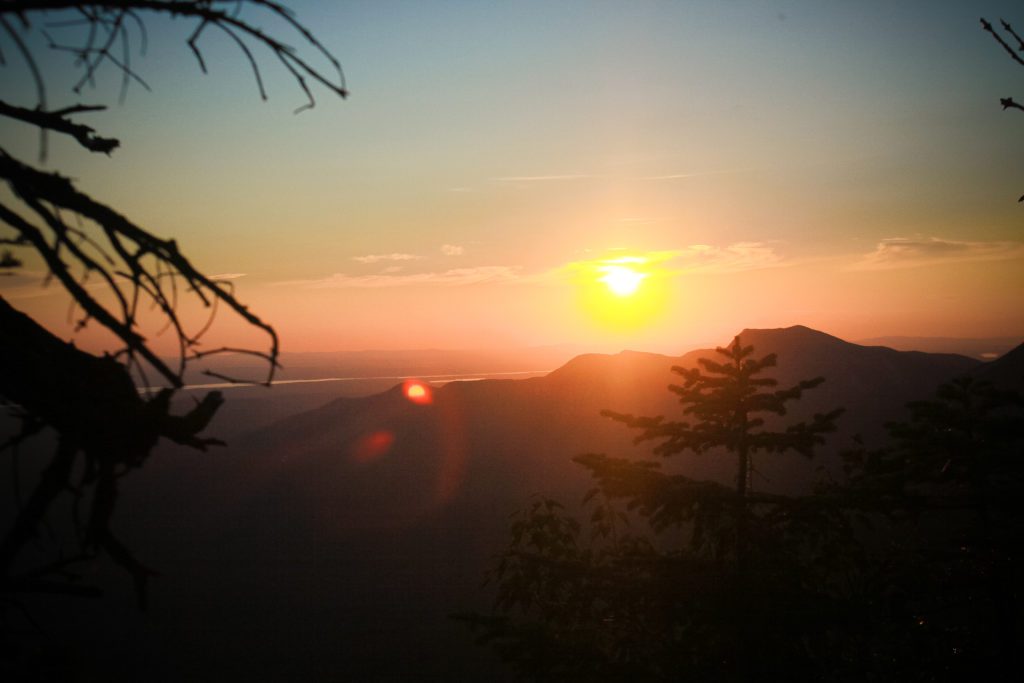
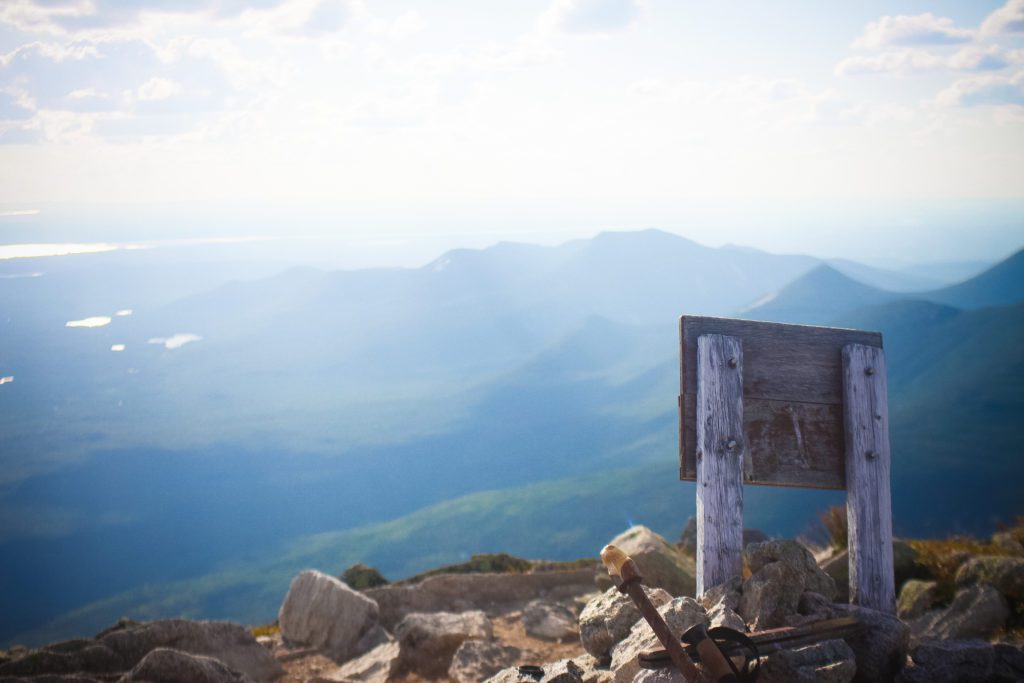
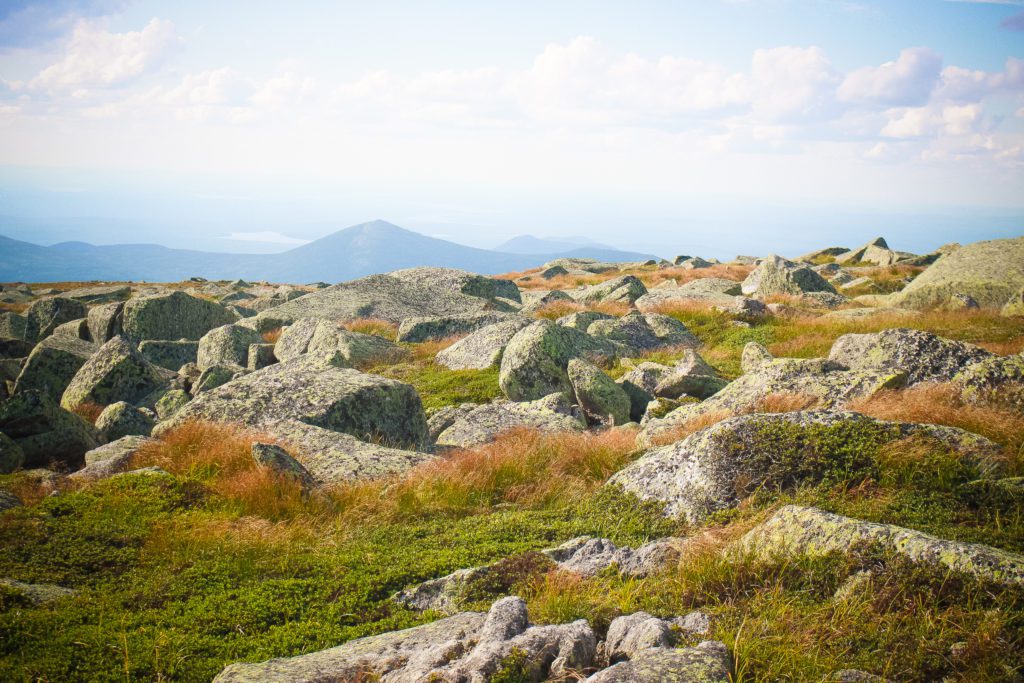
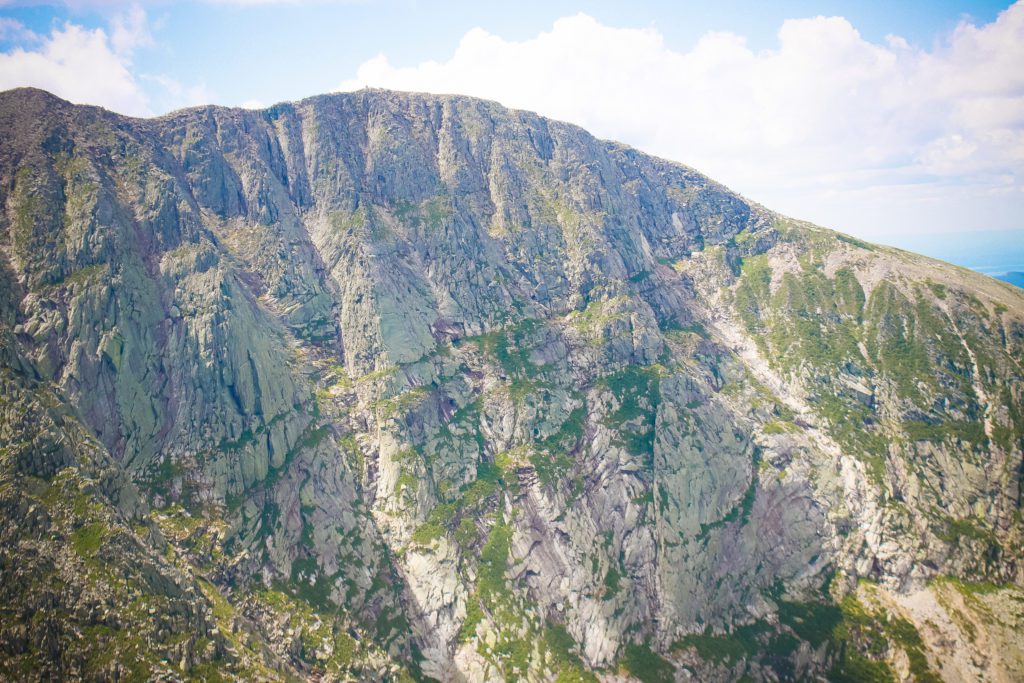
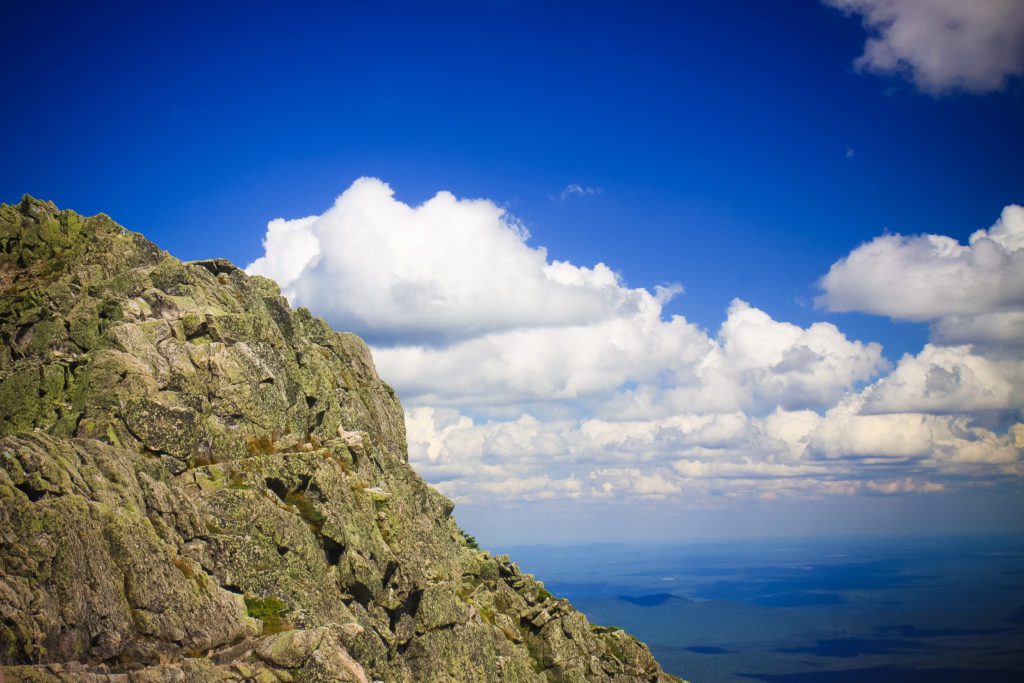
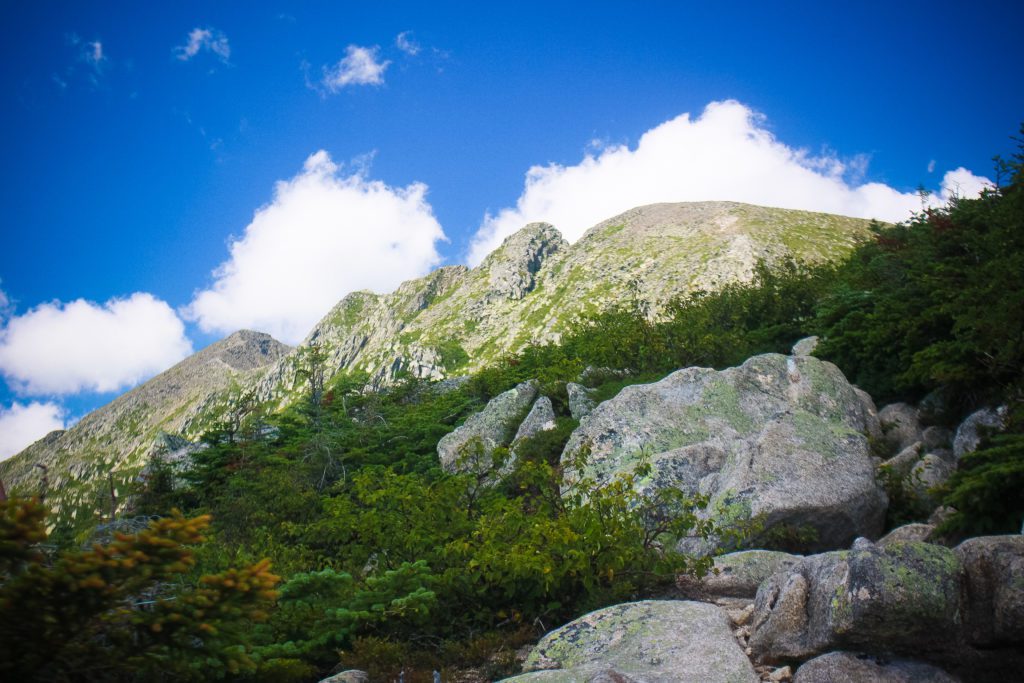
We hope you find this Beginner’s Guide to Katahdin helpful in planning your hike. Don’t’ forget to check out our “What to Have in Your Emergency Hiking Kit” to gear up before you head out!
MORE KATAHDIN TRAILS
Knife’s Edge on Mount Katahdin – Saddle – Helon Taylor
Knife’s Edge – Helon Taylor – Hunt
Resources
Friends of Baxter State Park – Know Before You Go
Chimani App for Baxter State Park
Be sure to use #lovemaineadventures for your Katahdin summit pics! And tag @lovemaineadventures on IG – to share your experience with the #lovemaineadventurescommunity!
Like this post? Purchase a Love Maine Adventures hat (or anything else from the online store!) to support us!!
Heading through Bangor, Maine and wanting to rent kayaks for your trip to Acadia National Park? Give us a call! We’ve got kayaks available for rent by the day, half day, or week! 207-814-7710
